This is an old revision of the document!
Table of Contents
How to make a good animation
A small guide on how to realise good animations starting from figures and using VirtualDub and the Xvid codec. VirtualDub can be downloaded through LiberKey.
Before getting started
- Remember to make big figures and in high resolution (the extension is arbitrary but too compressed formats, like JPEG, should be avoided).
- Figures have to be numbered in increasing order.
How to make an animation using VirtualDub
Create an animation in 6 steps
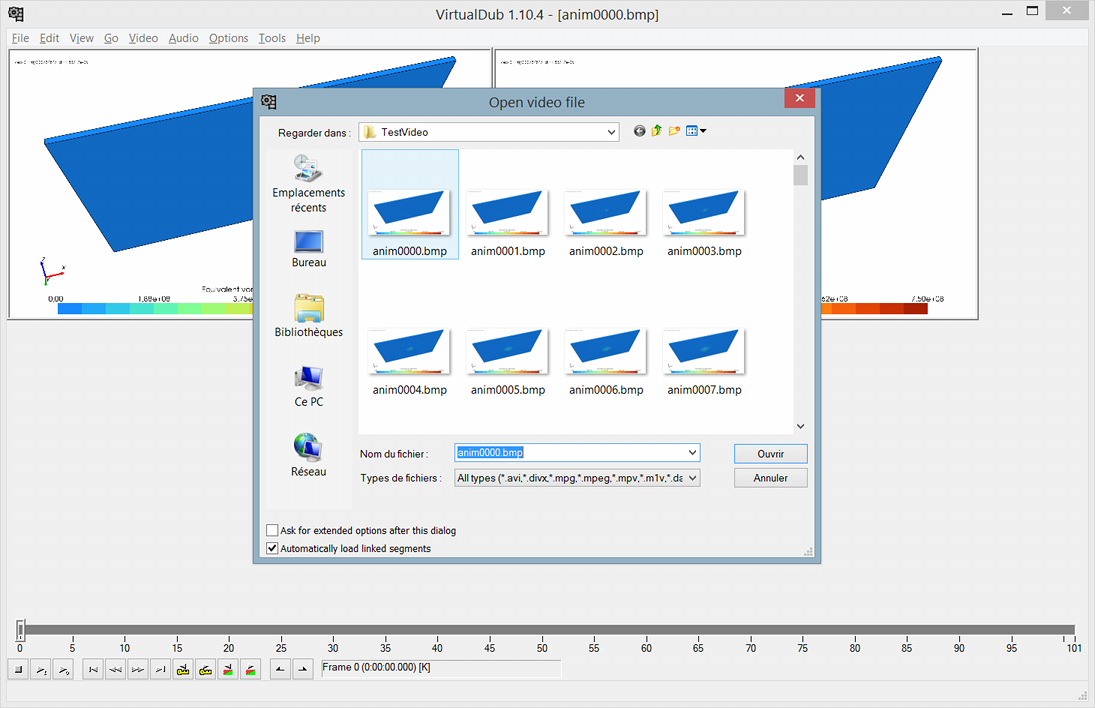
- Open VirtualDub.
- Drag the first figure, “Figure 0”, into VirtualDub (all the subsequent figures will be automatically imported) or select the figure with
File→Open video file.
- Apply the desired filters in order to adjust the aspect of the animation (see next section) NB: To help you, both the initial figures and the preview of the result can be visualized
→ Plane Layout. A zoom is also available (right click on the figure).
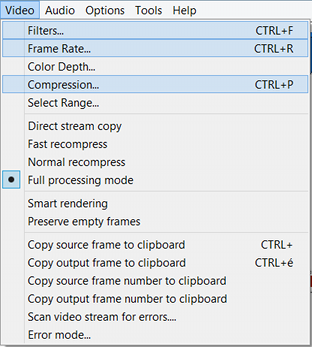
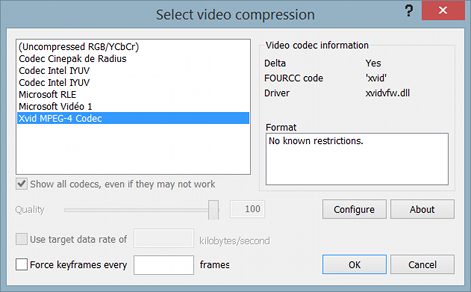
- Click on
Compressionto choose the compression format (Xvid in this case, but not mandatory). NB: in the codec manager set theTarget quantisizerto 2.0 (or 4.0).
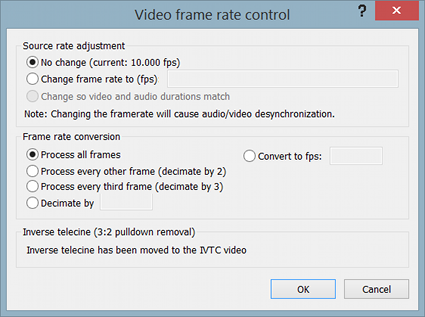
- Click on
Frame ratesto choose the speed of the animation.
- Select
File → Save as AVIto create the animation.
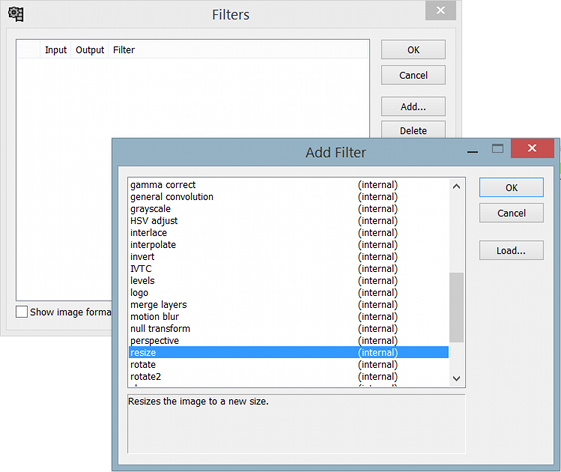
Modify the animation parameters: filters
Usually, before creating the animation, you want to make some modifications, for example setting the dimensions of the animation in order to have the right output size (resizing an animation, in PowerPoint for instance, should be avoided). To modify the animation you can use the different filters provided by VirtualDub. Those needed in this context are:
- Resize: to change the dimensions of the animation (by predefined patterns or in a customized fashion). NB: some codecs require dimensions that are multiple of some quantity (2, 4, 16, etc…). To take this into account you can either select one of the “Codec-friendly” options in the filter manager or do it by hand using the Crop filter (see next point).
- Crop: to crop figures (to get rid of undesired edges for instance, or to adjust the dimensions to match particular codec requirements).
- Logo: to insert a logo in the animation.
Remark 1: if the codec constraints on the dimensions are not respected, VirtualDub will refuse to proceed when clicking on Save as AVI.
Remark 2: VirtualDub is also capable to re-read an AVI file: an animation can be therefore modified even once created. NB: in this case the resolution will not be the same of the original figures but the one chosen when the animation was created!
Remark 3: The Resize filter can also be used to obtain animations of the right size to be uploaded on YouTube (avoiding in this way the automatic addition of black edges in order to compensate the difference between the dimensions of the uploaded video and those imposed by YouTube).
Remark 4: If you need to convert the AVI file into another format, it can be easily done using Format Factory (available through LiberKey).